In the previous article in this installing WordPress on Ubuntu series I installed WordPress and performed the initial configuration. In this part I’ll continue the configuration to the point where we have a running site.
Create a Virtual Host and Enable Rewrite
Things are going to get a little bit vague in this section because there are a lot of different ways to set up access to your site. I’m going to assume that you will create a new virtual host in Apache since that is by far the most common way to configure the system. There are numerous different ways to create a new virtual host but I typically use Webmin as it’s quick and easy (I have an install guide here if you need) but you can just as easily create it via the command prompt. The key thing is you want a virtual host file that looks something like this:
<VirtualHost *:80>
    DocumentRoot /var/www/www.example.com
    ServerName www.example.com
    <Directory "/var/www/www.example.com">
        Allow from all
        Options FollowSymLinks
        Require all granted
        AllowOverride All
    </Directory>
</VirtualHost>
I’ve quickly explained what the various directives are are for below, this isn’t a complete explanation and you should consider reading the Apache documentation as well.
- DocumentRoot – tells Apache where you website is based in the file system.
- ServerName – tells the virtual host what requests it should service.
- Directory – used to set permissions for the named directory.
- Allow – indicates that this virtual host should accept all incoming connections. Not strictly necessary here.
- Options – in this case we have added the option FollowSymLinks which allows us to use mod_rewrite within .htaccess files.
- Require – determines which users can access the named resource. Not strictly necessary here.
- AllowOverride – tells Apache that we will allow some, or in this case all, directives to be overridden in a .htaccess file.
Now enable the rewrite module and restart Apache. I do this through Webmin but you can easily also do it via the command line with:
sudo a2enmod rewrite
sudo service apache2 restart
Configure WordPress Using the Web Interface
Assuming your Apache configuration has worked and you have the appropriate DNS entry you should now be able to access your site at:
http://www.example.com
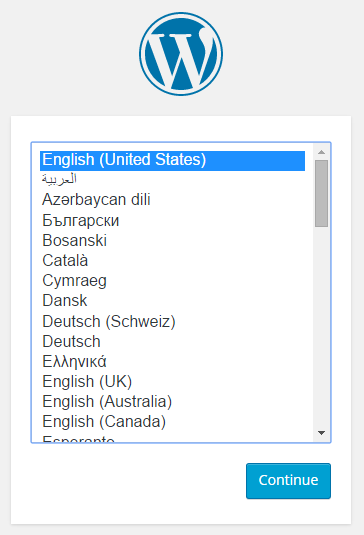
This link will then redirect you to the start of the WordPress set up process. First select a language:
Now fill in the needed information, pick at hard password as the login screen for your WordPress site is available to the world by default.
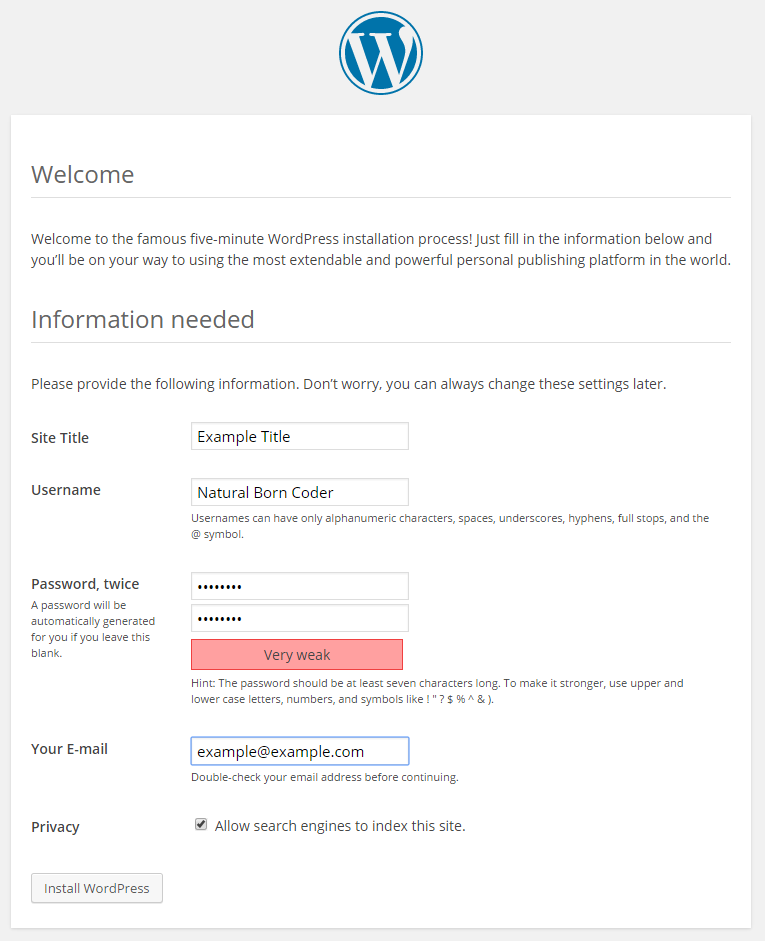
When you are done click the Install WordPress button. If everything works you should see a success page like this:
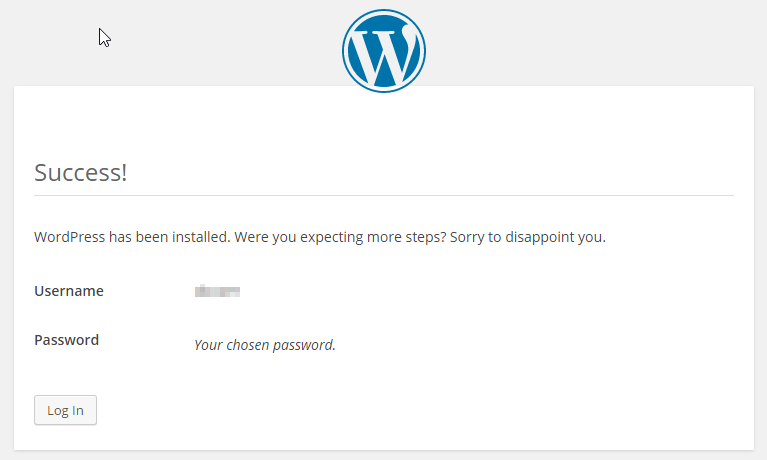
Click the Log In button and you will be taken to the dashboard log in screen where you can enter the credentials you just set:
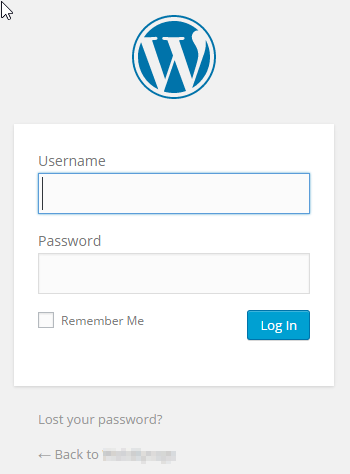
After log in you should be presented with the dashboard screen which will look something like this:

Configure Pretty Permalinks
By default WordPress uses links that look like this:
http://www.example.com/?p=1
Which I’m sure you will agree aren’t exactly a picture of beauty. For that reason, and because search engines struggle to get meaning from p=1, most people switch WordPress over to using some sort of pretty permalink. While you can change the structure of your permalinks once your site is up and running it’s not a good idea, the whole point of permalinks is that they are permanent so try to decide now what structure you’ll want to use. Permalinks require the use of the rewrite module (which is why we enabled it during the Apache configuration at the top of this article) and the creation of a .htaccess file in the root of your WordPress install. Assuming WordPress has permission to create the .htaccess file it will do so automatically when you change the settings.
Select Settings > Permalinks from the menu on the left of the dashboard and select the setting that you like the look of most:
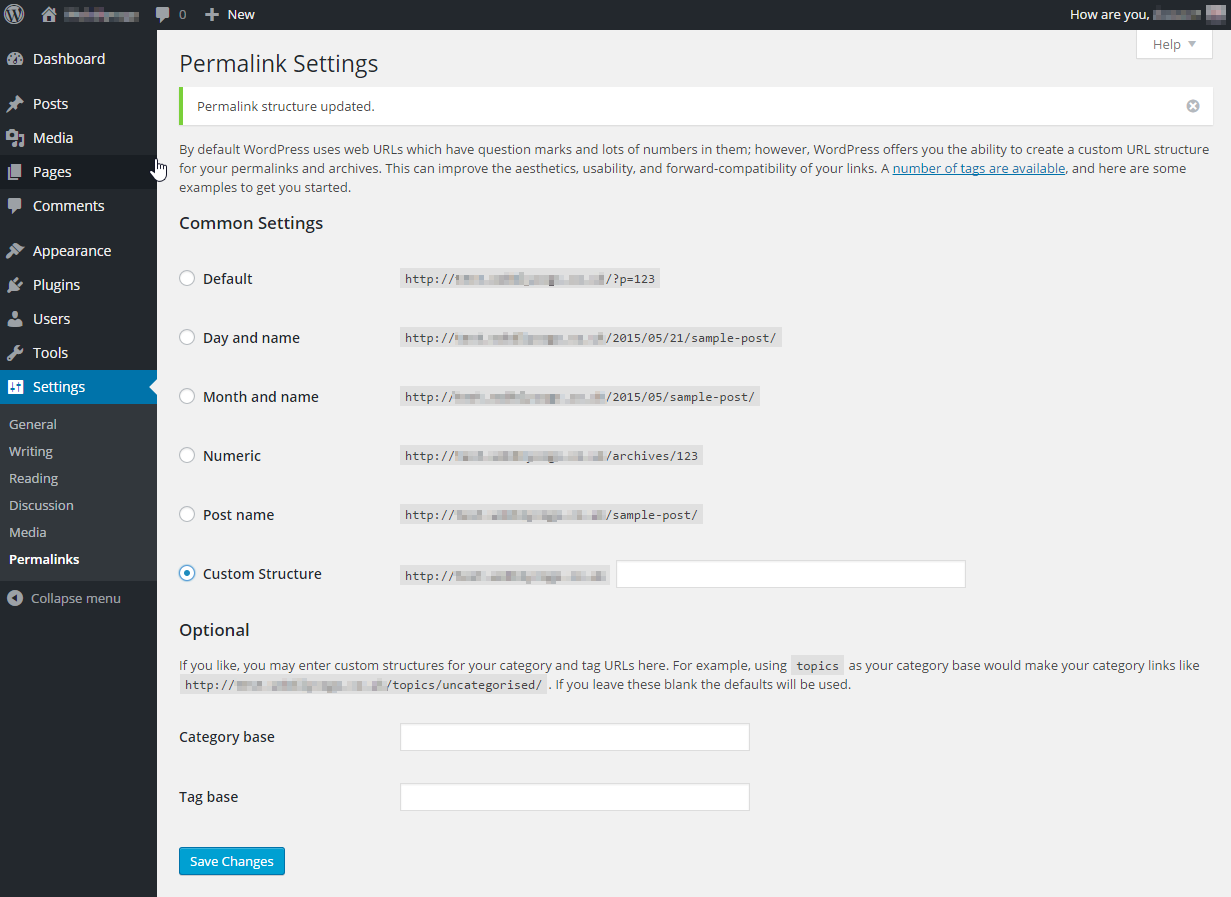
I’m quite partial to a custom structure that isn’t in the list:
/%category%/%year%/%monthnum%/%day%/%postname%/
You are, of course, free to make up your own structure. If you are using anything other than the default you will see the following lines in your .htaccess file:
# BEGIN WordPress
<IfModule mod_rewrite.c>
RewriteEngine On
RewriteBase /
RewriteRule ^index\.php$ - [L]
RewriteCond %{REQUEST_FILENAME} !-f
RewriteCond %{REQUEST_FILENAME} !-d
RewriteRule . /index.php [L]
</IfModule>

# END WordPress
These tell Apache how to rewrite the given URL in order to access the appropriate page being requested (I have another article explaining some of this). At this point you may want to make the .htaccess file read only to slightly increase the security of your site. The .htaccess file shouldn’t change very often.
That concludes this series on installing WordPress on Ubuntu. If you have any comments or questions please leave them below.