OpenMediaVault (OMV) is an open source Network Attached Storage (NAS) solution. It ships as a distribution but you can also install just the packages if you have a suitable base system (Debian essentially) which is what we’ll be doing here. OMV has a web based interface that can be used to configure almost all aspects of the server. With plugins and extensions it can also run Docker and Portainer which opens the system up to running a wealth of applications.
To follow this article you’ll need a freshly installed Raspberry Pi. I’ll be using a Pi 4B 8GB with the Lite version of the OS installed, OMV won’t work on systems with a desktop environment. I will be installing OpenMediaVault 6 as that’s the latest version at the time of writing. You will almost certainly want to be able to access the Pi by SSH – I will be carrying out all the configuration over SSH. This process will work best if you’ve made no modifications to the basic install. OMV essentially takes over control of the server, once it’s installed it would be very difficult to remove and manually editing configuration files likely won’t have the desired effect long term – OMV will undo the edits.
Installing OMV 6 on a Raspberry Pi 4B
Open a terminal to your Pi and update the machine with:
sudo apt update
sudo apt upgrade
Now execute the following command to download and execute the install script for OMV:
sudo wget -O - https://github.com/OpenMediaVault-Plugin-Developers/installScript/raw/master/install | sudo bash
This command comes from here, which is from omv-extras.org a group that builds plugins for OMV and also facilitates the installation on Raspberry Pi. The Pi will work on this script for quite a while, 30 minutes is common and at the end it will reboot the machine – this will terminate the SSH session. It’s important that this script isn’t interrupted while it works so just click away from the SSH window (I’m assuming you’re using PuTTY like me) and leave it to do it’s thing. After the reboot give the Pi about 5 minutes to finish the setup and first execution of OMV.
OMV makes a lot of changes to the machine and it’s entirely possible you’ll end up with a new IP address and or SSH logins no longer working. In my case neither changed.
OMV First Login
OMV will bind port 80 which is the standard HTTP port. You should be able to reach your newly installed server at
http://IP_ADDRESS
Where IP_ADDRESS is the address of your server. Login with the default username and password:
Username: admin
Password: openmediavault
You should now see the home page for OMV that looks something like this
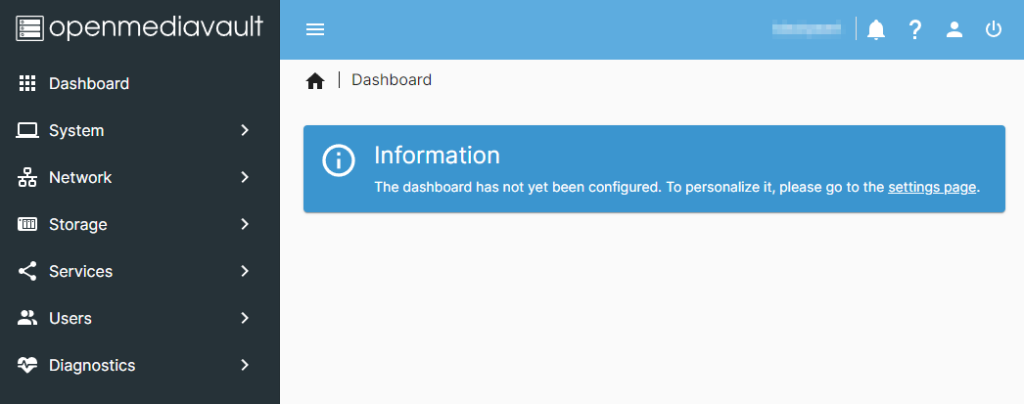
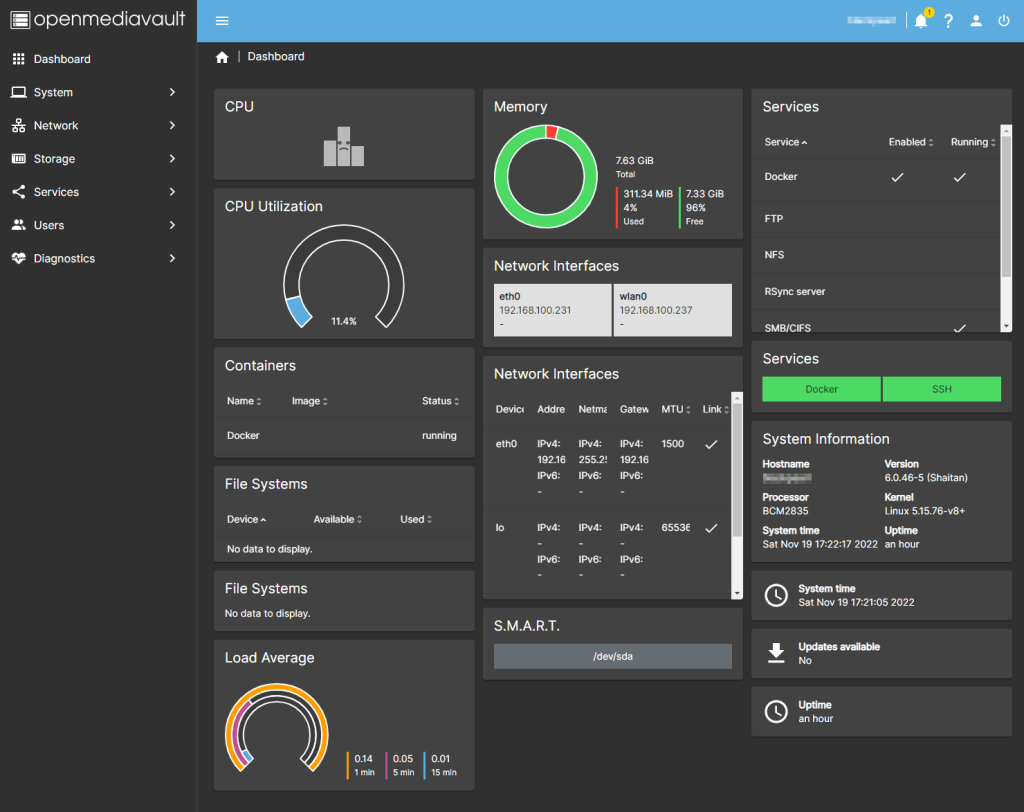
Change the password of the admin user to something secure. This is done by clicking the person icon at the top right and selection change password. Now select “Dashboard” from the left hand menu and click “setting page” in the menu. You’ll be presented with a list of items that can be displayed on the dashboard, click a few you’re interested in (all of them in my case) and press the “Save” button.
You’re all done for the initial install and configuration of OMV 6. In later articles I’ll look at setting up shares and some other services.