This short series of articles covers some of the basics of working with Java EE 6 (JEE6) and in particular JSF 2.0 and CDI (JSR 299 Context and Dependency Injection). JSF 2.0 and CDI bring some fantastic new functionality to the table but at the same time they also replicate a lot of existing ideas and bring them all under one roof. Unfortunately because all of the existing ideas are still used and available in containers we have ended up with a confusing mish-mash of annotations and configurations that mostly work together but have some gotchas to watch out for.
While I could do everything from a command prompt and using only a text editor I don’t feel like a coding ninja today so I’m going to take a more real-world approach and build and Maven based web application in NetBeans 7.0. If your not familiar with Maven I think you’ll be pleasantly surprised with how easy it is to get started. Of course, everything I do here could also be done using Ant / Ivy and Eclipse.
Creating a JEE6 Web Application
Start NetBeans and click the new project button at the top left. Select Maven and Web Application as shown here.

Press the Next button and fill in the details on the second page. I’ve called my project SimpleProject as shown:
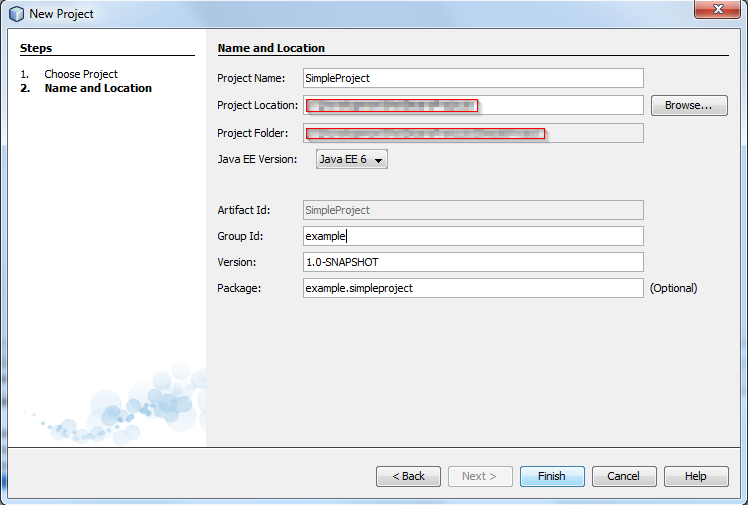
Make sure that you have Java EE 6 selected. Change the Group ID to something fitting for you, example is a fair choice here but normally it would be your company domain. Clicking Finish will create the new project which will look like this if all the nodes are expanded:
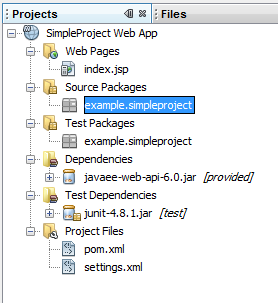
We are going to be developing a site based on JSF 2.0 and Facelets so the index.jsp file should be deleted.