I said previously that I wasn’t going to write this article but now I come to properly think about it I feel it’s worth it. Part of why I write these articles is to help beginners get started with tools that they would often be nervous about just diving into. If I can get someone over the first hurdle I think that’s great. So, on with installing an LXC container.
Firstly, what are containers? Containers can be thought of as a half way point between running an application on your operating system and running it in a full virtual machine (VM). The container uses the host kernel but supplies it’s own libraries and it has direct access to host resources if permitted. Since uses the host kernel directly the overhead for a container is minimal but there are a few downsides. Note that LXC containers are in a different category to Docker containers. LXC containers aim to provide an operating system with minimal overheads, Docker containers are really aimed at providing just an application (although there’s a lot of overlap).
The biggest downside, I feel, when compared to running in a virtual machine is the need to be careful about security. Containers run in a different namespace to avoid issues but care still needs to be taken. As an added layer of security some system calls aren’t allowed in containers which can make some software (Docker in particular) harder to run. Another limitation of containers is that they can only run Linux. This is obvious when you think about it, they are using the host kernel which is Linux. One last downside of containers is that they can’t be live migrated from one Proxmox instance to another. This isn’t a problem for me as I only have a single Proxmox instance but if you do need to migrate them you have to shut them down first. It’s not clear at the moment if live migration will ever be possible so don’t expect it any time soon if this is feature you need.
Installing the Container
To get started deploying a container you first need to find out if you have a suitable template. In the Server View list select your host and then select the storage that you use to store your container templates. In my case it’s called local and I already have the Debian 12 container I want to deploy.
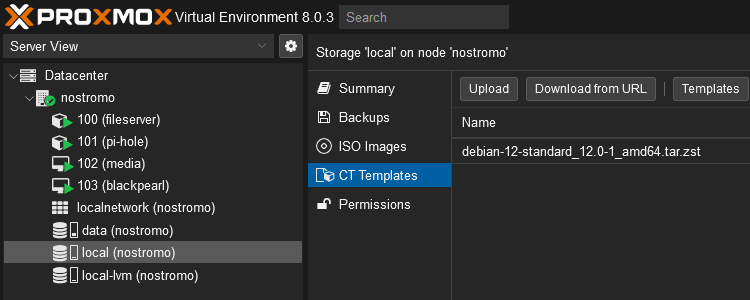
If you don’t already have a template the easiest way to get one is to click the Templates button and pick from the list. There are maybe a hundred or so templates listed by default. The system templates are usually at the top and these usually represent heavily cut down Linux distributions, all the big names are there. Lower down you’ll find Turnkey Linux containers, these are container preconfigured with certain applications already installed so a bit like a Docker container. Unlike a Docker container though these usually are aimed at solving a particular problem rather than providing a particular application.
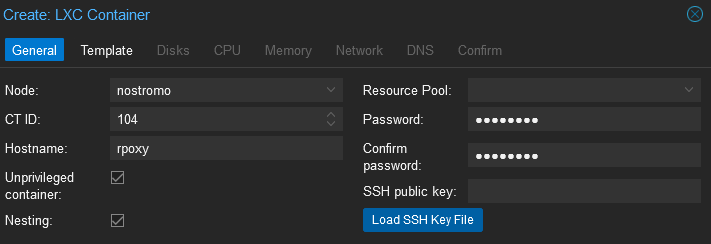
Now that you have the template you want to use click the blue Create CT button at the top of the Proxmox screen, this will open the container creation window. Select the node you’ll be deploying the container on and give it a hostname (which I went back and corrected). The ID will usually be fine but you can change it if you want. Give the container a password and then click next.
The next page asks you to select a template to use, I only have one (Debain 12) so I’ll select that.

No you need to set up the virtual disk your container will be using. In the example I’m setting up a reverse proxy machine which doesn’t need to store anything so I’ll leave it at 8GiB. The amount of storage you give the machine isn’t terribly important as you can always enlarge it later and if you set it to a large value now it only allocates actual space as it’s needed. Where you store the disk is important though. I have two options, local-lvm and data. Data is my large array and I want containers on my faster local-lvm storage.

Next select the number of cores to give the container. I usually start at 2 and increase as needed. These cores aren’t dedicated to the container so giving it more than it needs is not an issue.

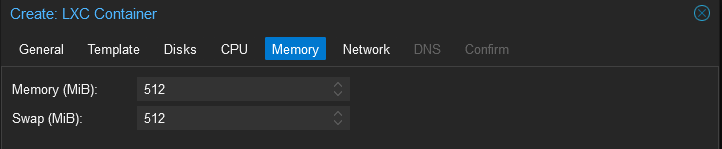
As with cores the memory allocated to the container is not exclusively for the container so you can allocate more than it needs. I’m going to leave it at the default 512MiB for now and maybe reduce it later to a more reasonable amount. At a guide, my file server container which is doing a fair bit of work rarely breaks 100MiB and the Pi-hole container would run in 80MiB.
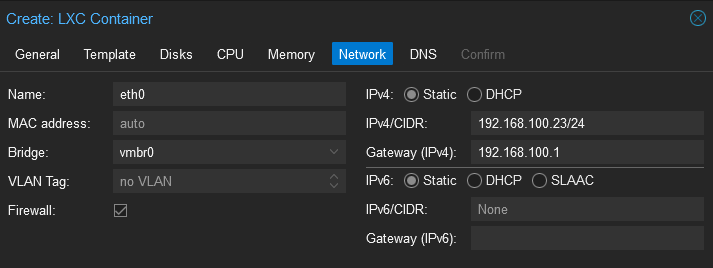
For the network settings you should assign the machine a static IPv4 address and leave the IPv6 static and unconfigured (unless you are using IPv6 of course). Don’t forget to make an entry in your DNS server.
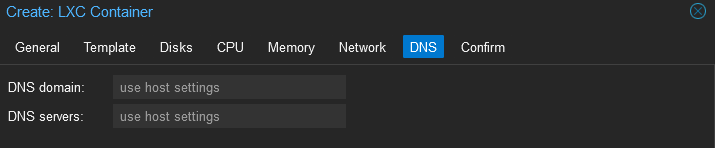
For DNS just use host settings, there’s rarely any good reason to use anything other than host settings.
On the confirm page check your settings and then click finish. Creating the container will only take a moment.
Configuring the Container
At this point you’ve got a bare container. You might now like to set up automatic updates and sudo. If you’re feeling adventurous once you have the base tempalte the way you like it you can create your own template from it which can be cloned.
Conclusion
That’s all there is to it. Containers are a great way to get something that looks very much like a virtual machine but using very few resources.